Hello, faithful followers! The Infamous Lindsey here for a guest post. I recently, and very happily, made some breaded chicken with a twist (that I came up with myself!) and bottle cap wreath ornaments (that I found on Pinterest)! I kinda forgot to take pictures of the chicken though… heheh, oopsy. Anyways, on to the goodies!
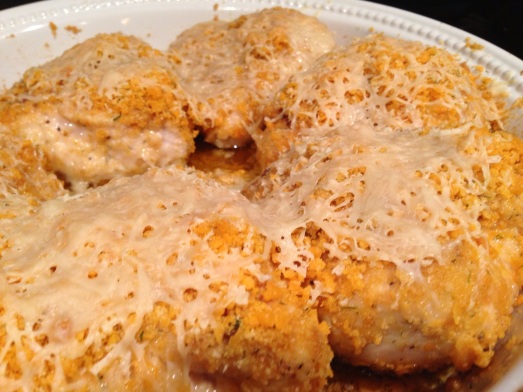
Lindsey’s Cheesy Cheez-Its Chicken
Breading:
½ box of Cheez-Its (or your favorite cheesy crackers); smooshed to bits
3 tbsp grated parmesan cheese
1 tsp dill
½ tsp garlic salt
pepper to taste (I used Montreal steak seasoning, but it’s up to you)
Oil:
3 tbsp oil
2 tsp garlic oil (or a clove or two of minced/smooshed garlic)
1 vegetable Knorr® Homestyle Stock™
1) Preheat oven to 350° F. Mix oils/garlic with the stock starter and pour into the baking pan that’s gonna fit your chicken making sure to cover the whole bottom. Add extra oil as necessary.
2) Combine breading ingredients in a dish or container and cover chicken with it. Place chicken in the pan and put some extra crumblies on top to make sure it’s well covered and ready to be crispy. If you want, some shredded parmesan on top is super scrumptious.
3) Bake for 20 minutes, flip chicken (maybe add more parmesan… yum!), and bake for another 20 – 25 minutes or until chicken is done.
That’s all there is to it! Super easy and super tasty. I recommend scraping all the gooey Cheez-Its leftovers off the bottom of the pan and snacking on them before anyone else can! My dad actually said it was awesome. Normally he just grunts and shrugs like a teenage boy… Proof that this is the bestest chicken ever! On to the crafty goodies!
(UPDATE FROM DANIELLE @ Filmmakingandcookiebaking-
Lindsey and I made this last week for a small dinner party and my house.
Here is the yummy, yummy chicken.
Sharp Chedder Mac & Cheese (with a little of the cheez-it breading on top.)
Sautéed zucchini squash with garlic, pepper, seasoning salt, & dill)
Loaded mashed red potatoes.
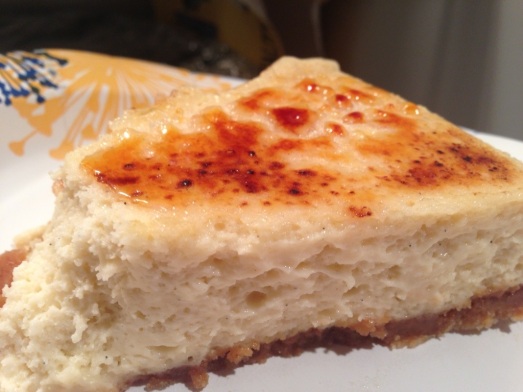
Ceme brûlée Cheesecake.
—————————————————————–
Bottle Cap Wreath Ornaments
glue gun
7 bottle caps (all the same or mix it up)
¼ inch thick ribbon that matches or contrasts (whatever floats your boat)
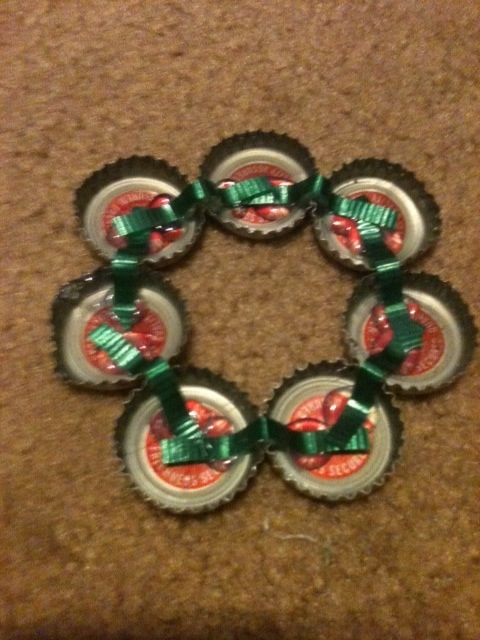
1) Arrange and tack together caps with a dot of glue on the back. Flip over and tack between caps as well for a bit of strength. Try not to make it seen, but if it is the ribbon will cover it later.
2) Snip approximately ¾ inch long bits of ribbon. You’ll need 7 of them. Glue as shown in the next picture… Not entirely sure how to explain it, but it works I swear. If the ribbon is taut, it keeps the wreath together better than just the glue.
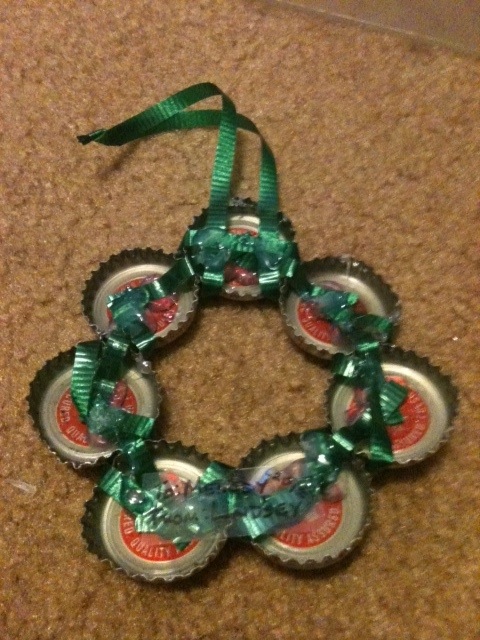
3) Loop ribbon at wherever the top of your wreath is for a way to hang it all ornament-like and secure it with glue. (This pic is actually from the finished product so you can also kind of see how I wrapped and secured the ribbon… kind of… as well as the nifty gift tag I made)
4) Wrap ribbon around wreath between the caps to cover any glue dots that may be seen on the front and strategically glue in place on the back as you go. The back doesn’t look entirely too pretty after, but the front is adorable.
5) Add a bow to the front and you’re done. I cheated and made the bow by tacking the ribbon with glue instead of trying to tie it. I added a clear piece of really thin plastic (card stock or construction paper would work too) to the back for a gift tag, but that’s only necessary if it’s a gift or you want to record the year it was made.
Well, folks, that’s all I’ve got for ya today. Hopefully I’ll be back soon for another guest post or for more kitchen adventures with Danielle. Until then, happy cooking and crafting to all and to all a good night. ;P


You actually know a person’s stuff… keep up the good job!